
Exact Order Of Makeup Application | Step By Step Details
Pooja Angurasu
Updated At 02 Jul 24
Looking screwed up from your makeup look? Then, this is the page where one should be getting their makeup done flawlessly. It takes more concentration, patience, and appropriate product usage guidelines to apply makeup successfully. This article explains how to apply makeup in the right sequence. Let's look at the exact order of makeup applications in step-by-step detail to find out the makeup application sequence.
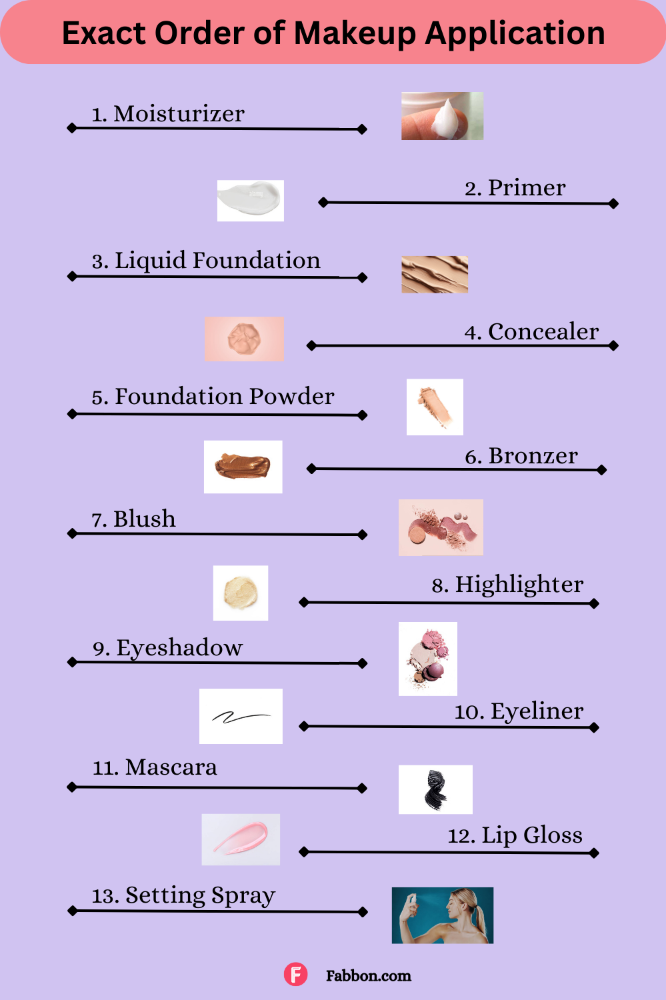
Exact Order Of Makeup Application | Step By Step Details
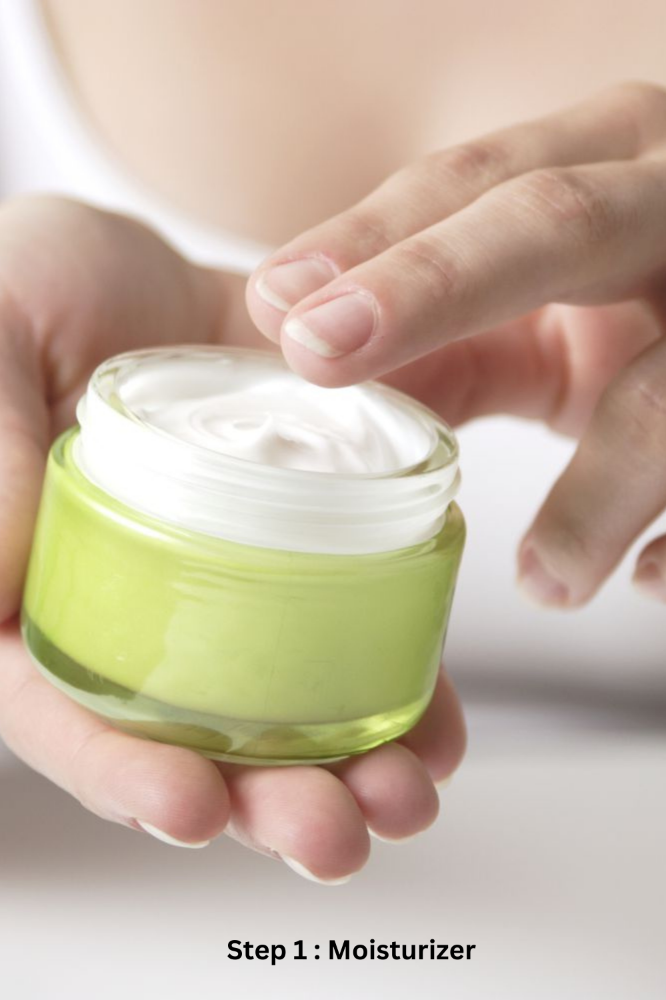
Step 1: Employ the Proper Moisturizer
Using the right moisturizer for your skin type is the first and most significant step before applying makeup. Make use of a quality moisturizer, such as facial mists, oils, lotions, serums, or creams. Face mists, being a water-based solution, can be used by people with dry skin; if the individual's skin is extremely dry, moisturizing oils can be used. Moisturizing lotions and creams are appropriate for those with normal skin. It is recommended that those with oily skin apply light-textured serums or lotions.
Apply just enough moisturizer—about the size of a quarter—to your index finger. Apply the moisturizer to your forehead and work your way up and out. Then begin with your nose extended across your chin and cheeks. To prevent pore blockage, evenly apply the moisturizer to your entire face. After giving them a gentle circular rub, let them dry for a few minutes before proceeding to the next step.
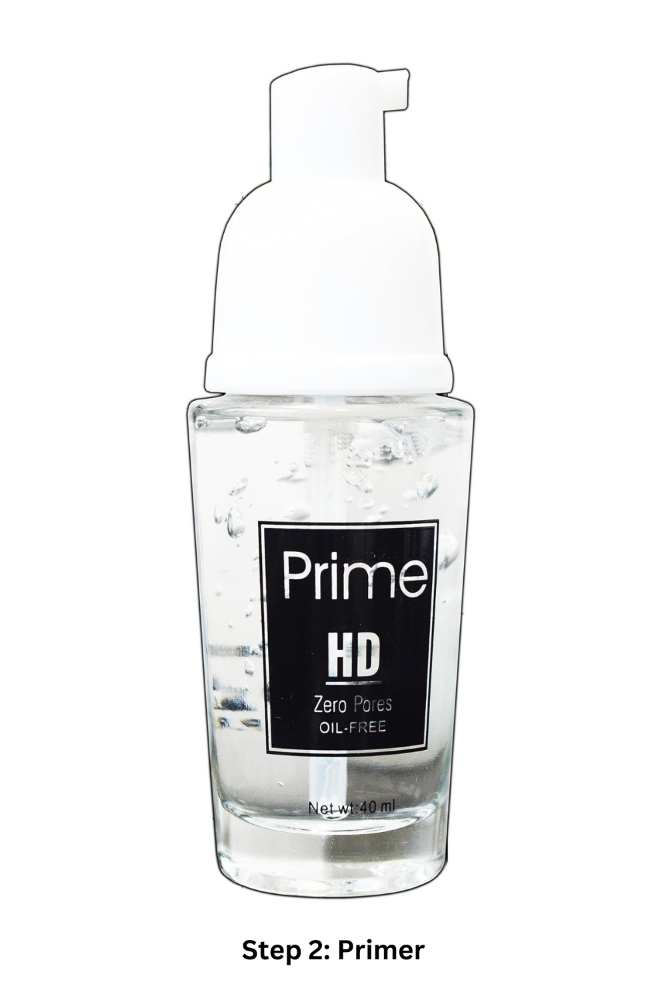
Step 2: Prepare Your Face With Primer
Using primer is an essential step and product to ensure your makeup looks flawless and lasts all day. Primers are soft gels and creams that fill in your skin's pores and wrinkles while also helping to conceal any uneven skin tone, so your makeup seems immaculate. Apply a tiny bit of primer to your face using your fingertips, a makeup brush, or a sponge; a little bit goes pretty far. Work your way carefully toward your cheekbones, forehead, and skin, starting in the center of your face.
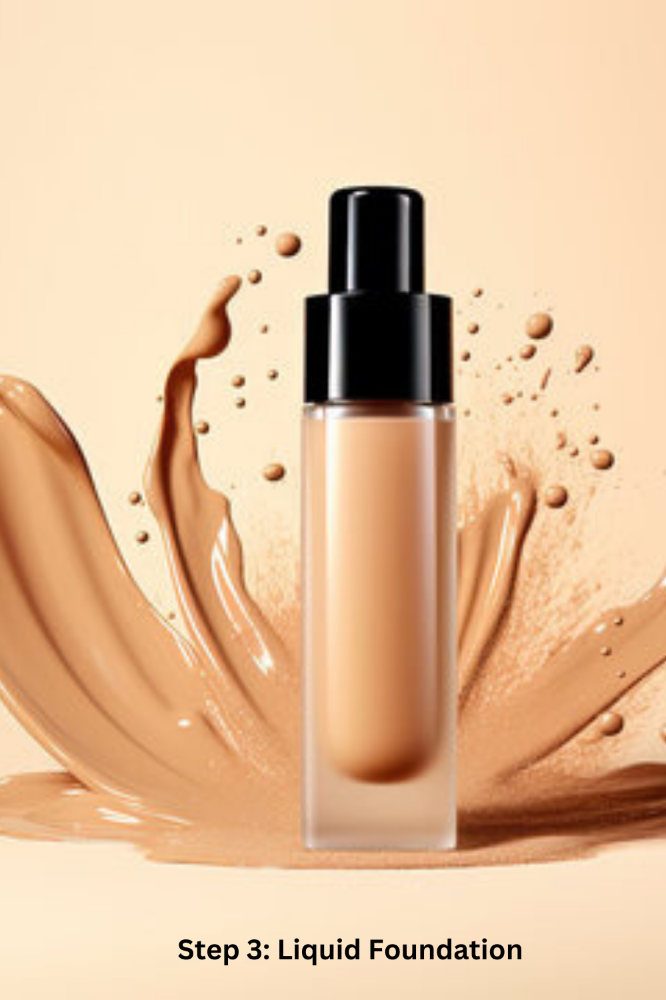
Step 3: Choose the Right Liquid Foundation
Invest time in your schedule to pick the shade of foundation that suits your skin best. Applying your foundation right against your jawline will expose your real match if, after a few minutes, it fades without blending. Applying foundation can be done using a brush, sponge, or even your fingertips. It is recommended that hands be kept clean both before and after any procedure involving the use of hands. One should use a brush or sponge for a heavier makeup appearance, but one can use their fingers for a more organic look. Sweep the liquid foundation over your skin, blending it outward from the middle of your face. Buffing the foundation is important because it produces a more uniform and polished texture.
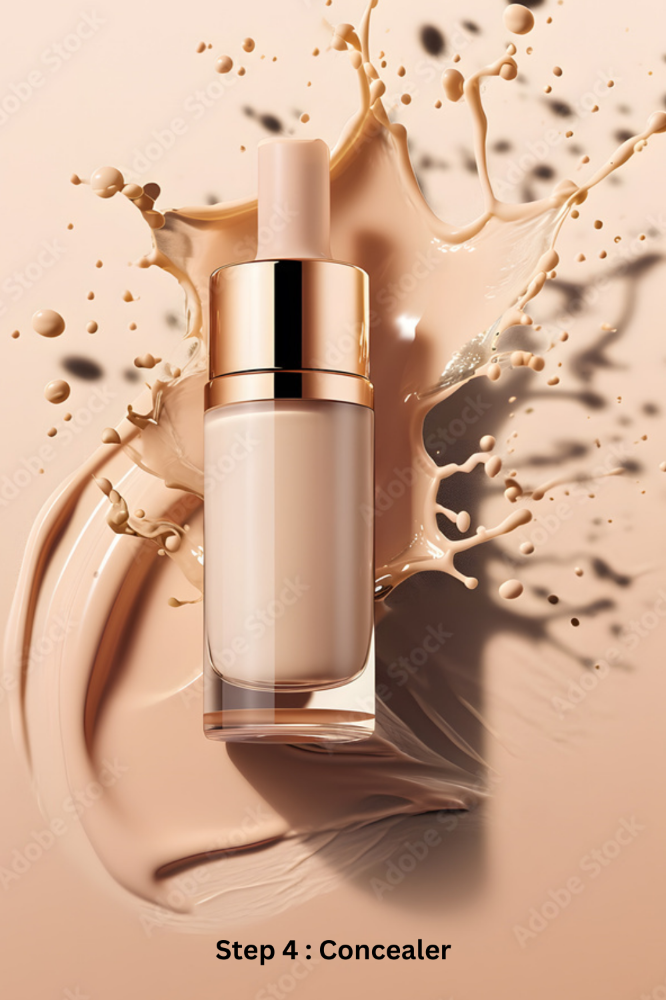
Step 4: Pick the Color of Your Concealer
Concealer comes in two varieties: liquid and compact. Especially in the wrinkling and under-the-lip areas, liquid concealer leaves a light finish and provides modest coverage over a broad portion of the face. Compact concealers are applied to a tiny, targeted area of your face to provide extensive coverage. Taking the effort to choose two different concealer tones for your skin tone is a wonderful idea. To effectively conceal dark spots, acne, and other facial imperfections, choose a shade that closely resembles your skin tone. The other one should be paler than your skin tone, since this will help draw attention to specific parts of your face and your makeup in their entirety.
Apply tiny, horizontal dots of concealer to the middle of your forehead, beneath your eyes, down the center of your nose, along the curving arch at the top of your chin, and just under your bottom lip to draw attention to certain areas of your face. Use a sponge or makeup brush to apply a light concealer under the eyes to hide the look of dark circles, and apply it directly to the trouble spots to minimize skin imperfections.
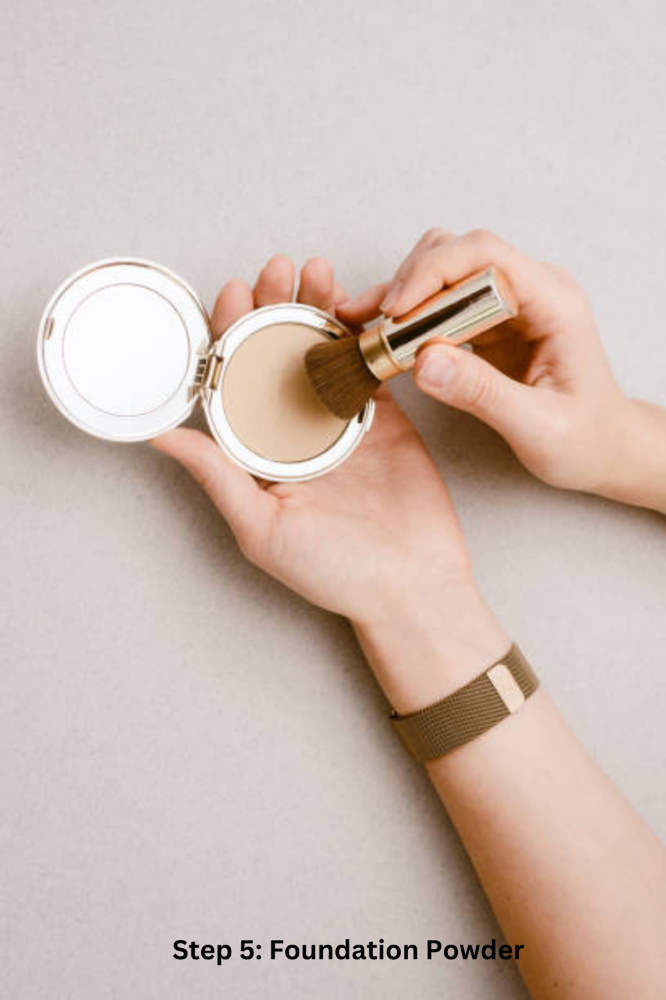
Step 5: Apply Foundation Powder
Using too much powder might give the appearance of a "cake." Applying foundation powder could be challenging. It is best to use a big, fluffy powder brush to achieve the ideal complexion. Dust your face with a little layer of powder to start the procedure. Tap the bristles into the powder and move them in long and flowing strokes over the skin. Increase the concentration of the powder in areas of wrinkles and pores to get a smooth texture.
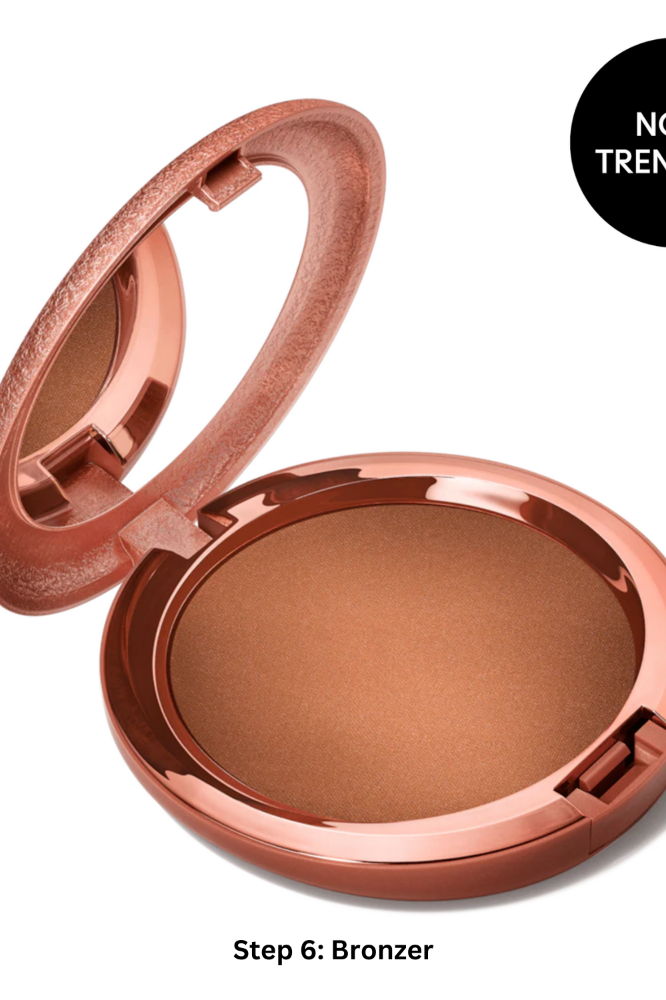
Step 6: Choose the Right Shade of Bronzer
Utilizing a bronzer brush, spread bronzer all over the face to get a sun-kissed effect. Because bronzer brushes have more bristles, using them is recommended. One can apply two shades darker than their skin tone if bronzer makes them uneasy. Once you've chosen the right shade, use the bronzer to create the shape of a "3" on both sides of your face. Begin at your forehead, drag it toward your cheek, around your jawline, and end up at your chin and neck.
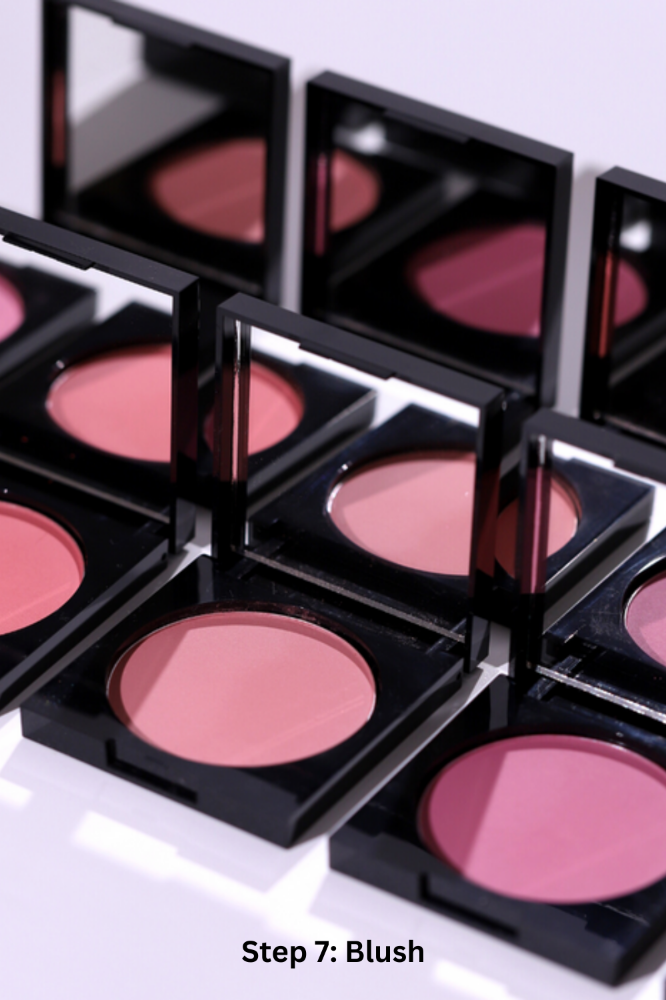
Step 7:Blush to Get Flushed Cheeks
Depending on their skin tone, a person can select their preferred blush, such as peach, plum, or pink. subsequently, commence dabbing your cheeks with your chosen blush. Adding blush to your makeup could make your complexion appear gleaming and charming.
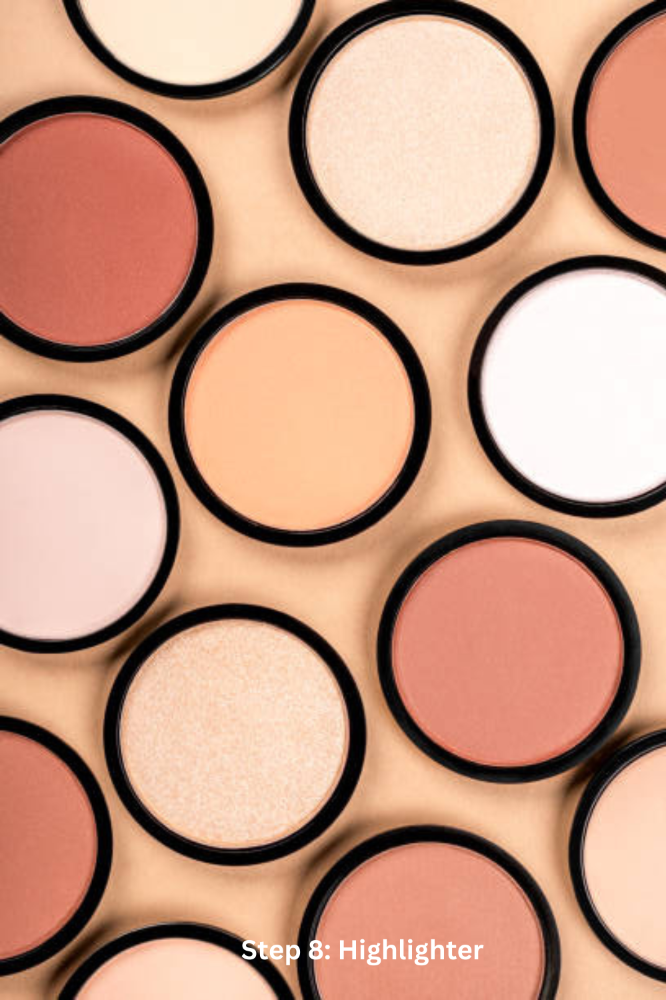
Step 8: Highlighters
Highlighter comes in an array of forms, including powders, liquids, and creams. People are free to use the highlighter that seems most comfortable for them. Put on highlighter in the following places to get a natural glow: the brow bone, inner corners of the eyelids, tops of the cheekbones, nose bridge, middle of the forehead and chin, and above the upper lip.
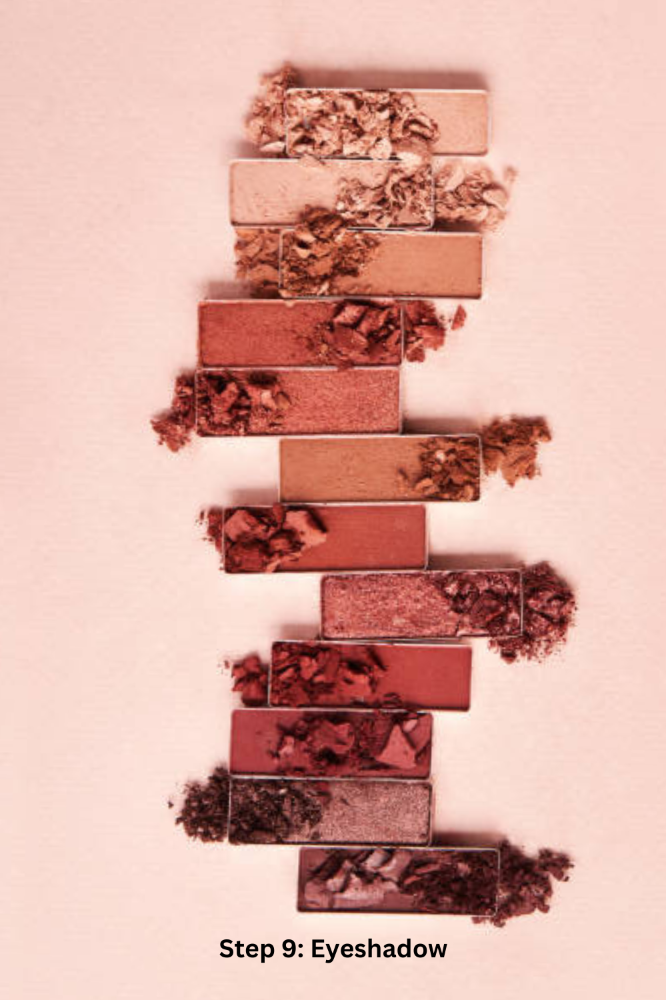
Step 9: Eyeshadow
Eyeshadow is essential to your entire appearance. Either cool, vivid tones or neutral hues are available for selection. It is recommended to use one light shade and one deeper shade. Apply the lightest shade first, followed by the darker one. Just be careful not to put the deeper shade in the middle of your eyelids.
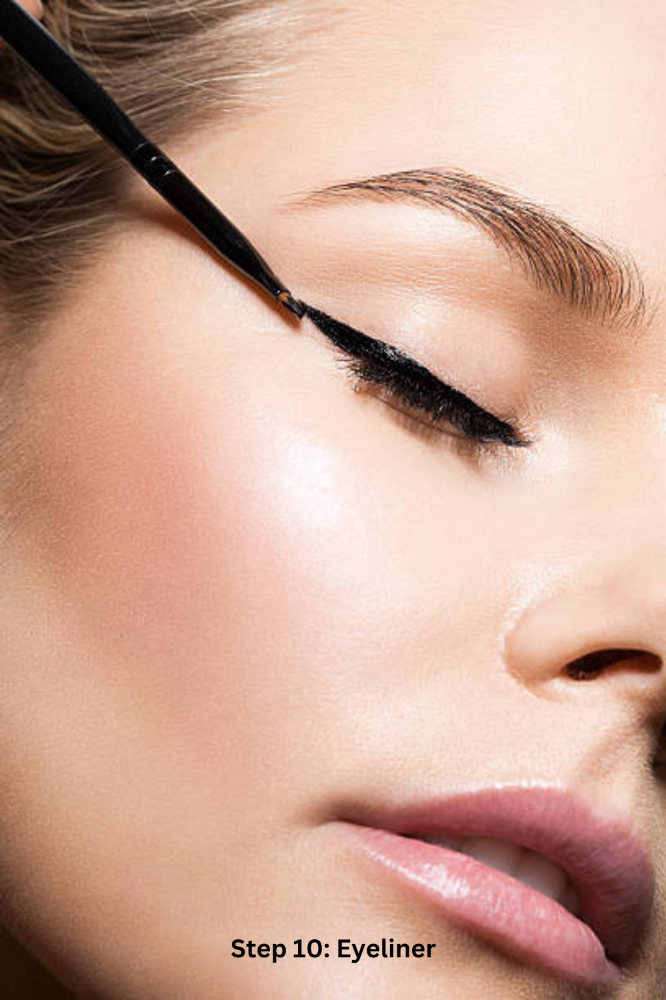
Step 10: Eyeliner
Your eyeliner is your makeup's beauty liner! Eyeliner has the power to give your eyes revitalizing attractiveness. There are three varieties of eyeliner: pencil, gel, and liquid. For those who are new to cosmetics, pencil eyeliner is a good place to start. Any of these eyeliners or the eyeliners they are more familiar with can be used by others.

Step 11: Mascara for Eyelashes
Mascara can create a voluminous effect on the eyelashes and a luminous effect on the eyes. Although mascara comes in a variety of colors, black and brown are the most common. Gently stroke the mascara brush down the base of your lashes. Implementing a second application can provide even more volume.
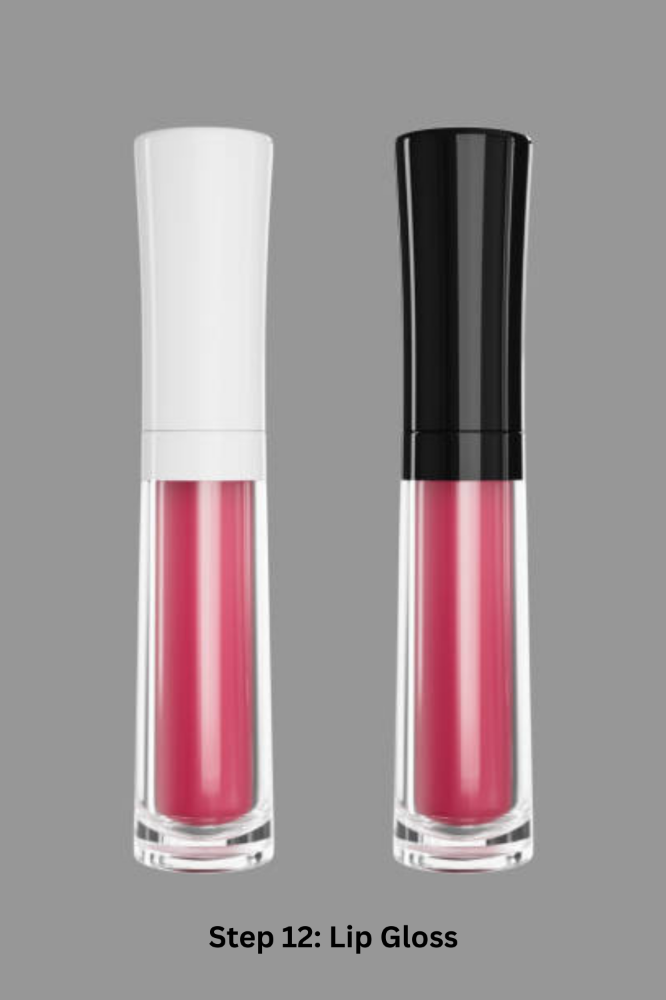
Step 12: Lip Gloss
Apply a lip conditioner or moisturizer if your lips are parched. Then begin with your preferred lip gloss. Make sure the lip gloss is distributed evenly, and avoid pulling it above your natural lip line.
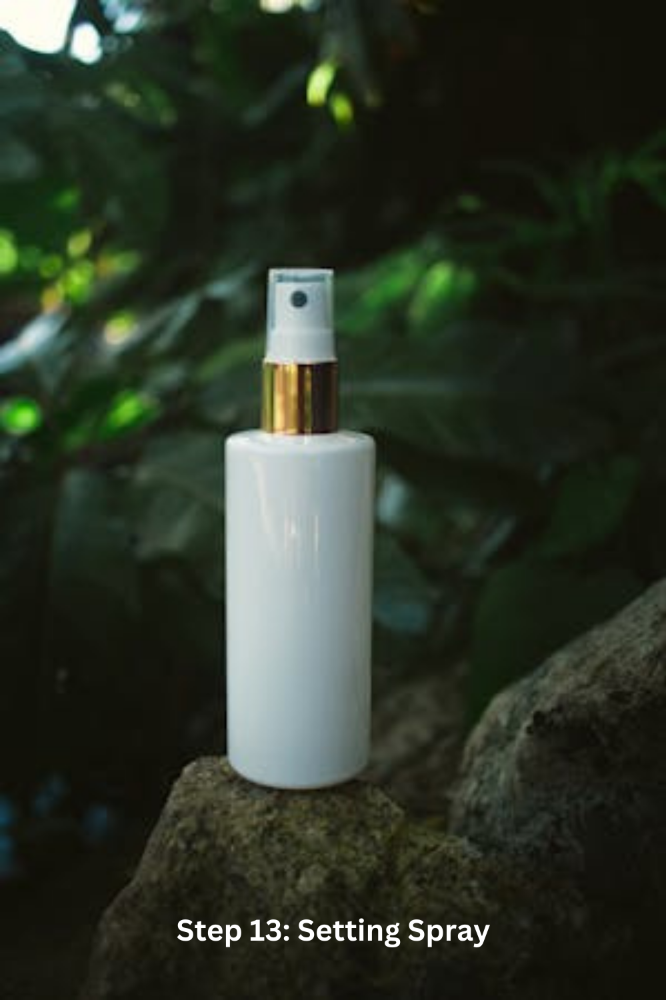
Step 13: Setting Spray
Applying makeup comes to an end with setting spray. It's a simple yet crucial technique that will extend the wear of your makeup throughout the day. All skin types can benefit from setting spray. Simply hold the bottle eight inches away from your face and spritz your entire face. Make sure your whole face is coated, and don't rub it off because it will dry naturally in a matter of seconds.
These are the proper steps and exact order of makeup application. Hopefully, this article will be helpful in achieving a perfect makeup look.


